Workshop: HCI Bootcamp
Sector
Map applications
Challenge
Follow a complete user-centered design cycle to create a prototype of a novel map app
My role
Partipate in a team of 4
Workshop time
4 days
Preparation
Objectives: Carry out Story Interviews and identify interaction points
For a good understanding of how people interact with map applications, we conducted Story Interviews with users. A Story Interview captures detailed stories about how the user interact with the system.
As a result we sketched out Interaction Points, by going through the interviews and identifying the most interesting interactions. See the example above.
Day 1
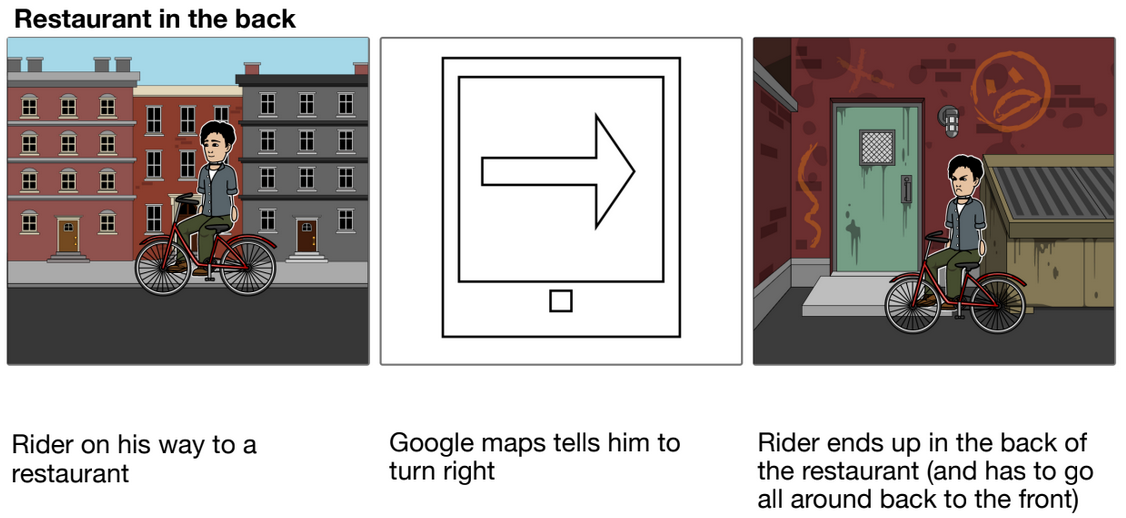
Objectives of the day: Create user Profiles, Ideate, Video BrainstormingThe morning we started doing a Peer introspection in which one person of the team uses a google maps and does a talk aloud protocol, while the others observe.
For the introspection we gave a task to do, in which they need to figure out the best way to get from A to B. This technique made us discover more breakdowns and surprises inside Google Maps.
With all the data we gathered we could narrow it down to a Use Scenario, which are like tiny one-act plays with many interaction points that describe how users currently perform one or more tasks, and which would suggest the need for a new design.
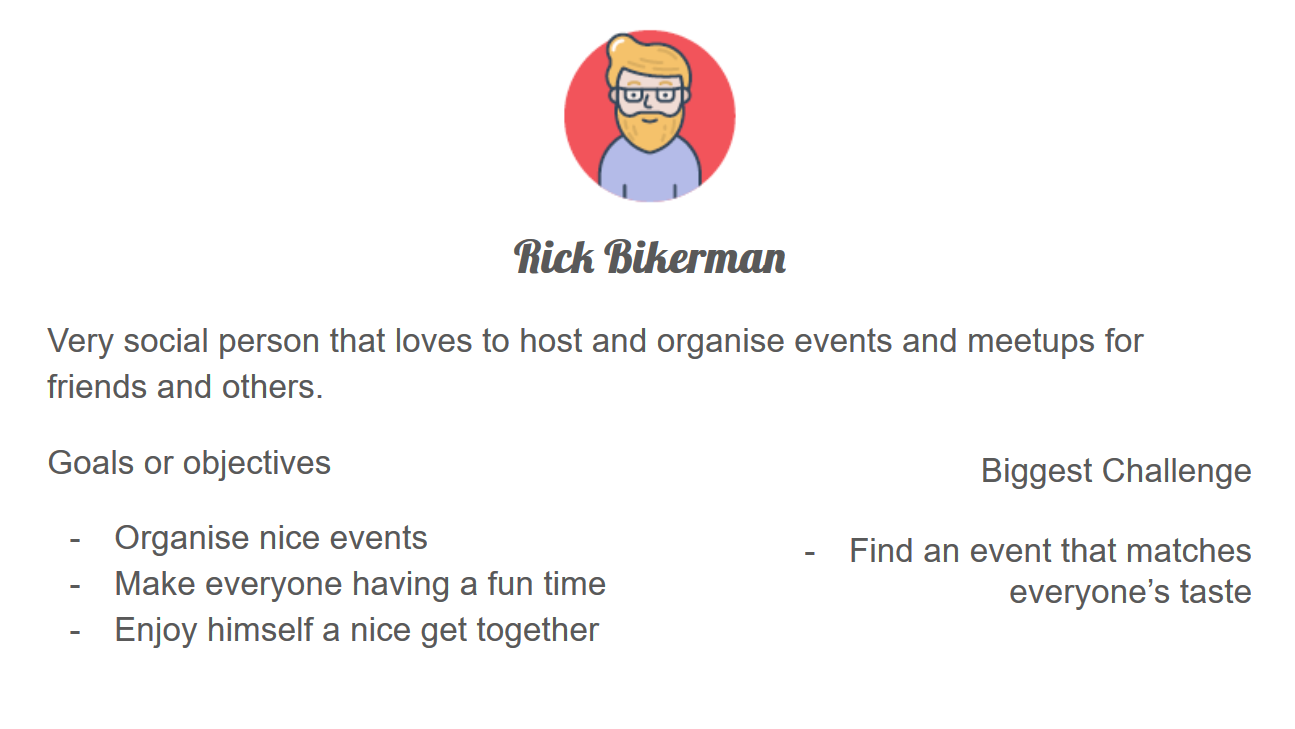
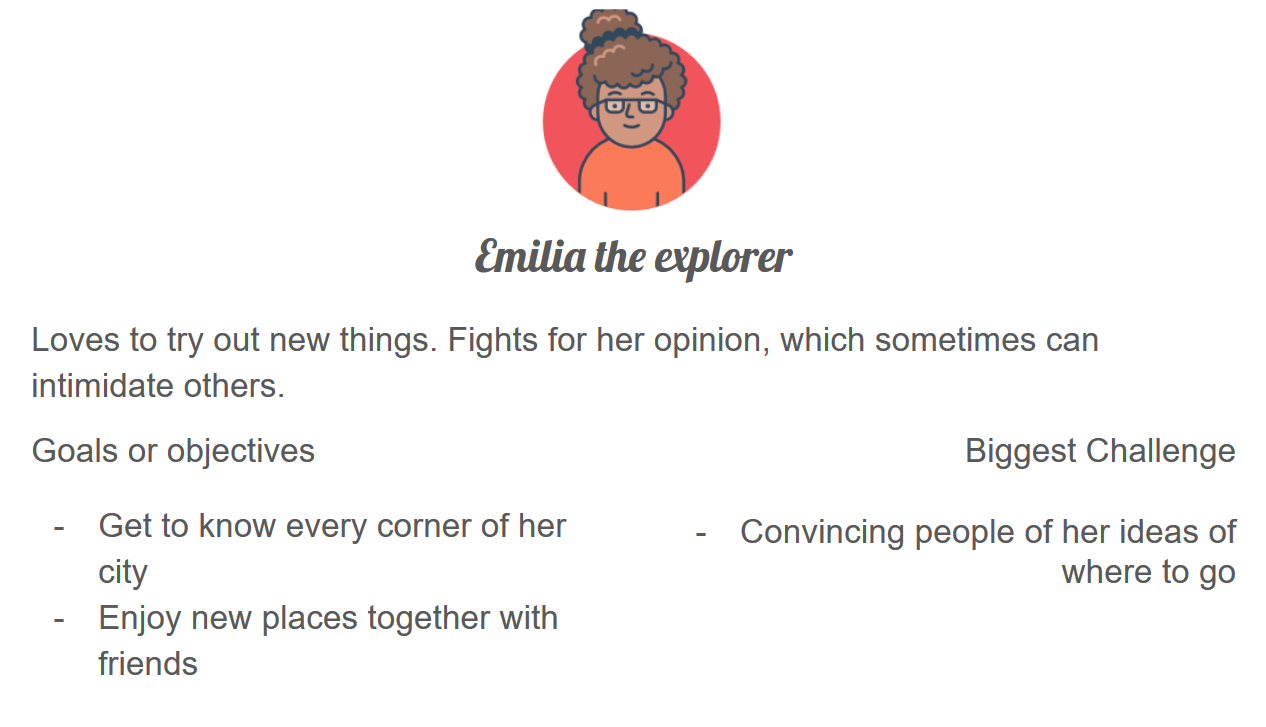
The scenario would also contain Personas and User Profiles which we created tailored to our story.
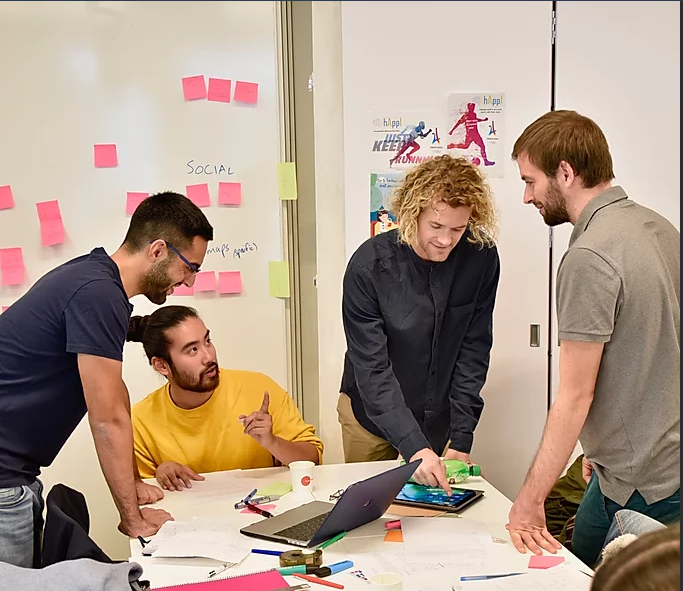
Now having our goal in mind, it was time to think of solutions. A standard brainstorm helped gathering a set of solutions which we then prototyped in and then video brainstormed.
The videos were a nice way to making things concrete from an early moment, and to help us getting reactions from users when showing it to them.
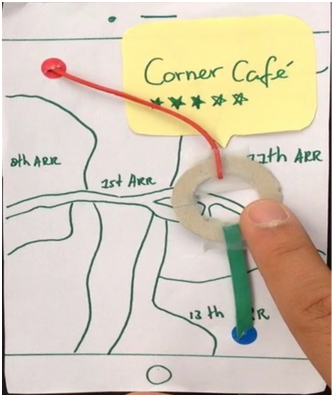
The example image shows a screenshot from a video protype in which the idea was to explore the area in between two people while seeing the distance each has to travel.
Day 2
Objectives: Create Design Scenario, Create Story Board, Video PrototypeFrom the video brainstorming the previous day and the feedback we got from it, we got now a more clear idea of how to approach our new design.
The morning we spend creating the Design concept and think of alternative ways of how to solve it. Finally we create the Design Scenario
After knowing what we want to design and prototype only the storyboard was missing.
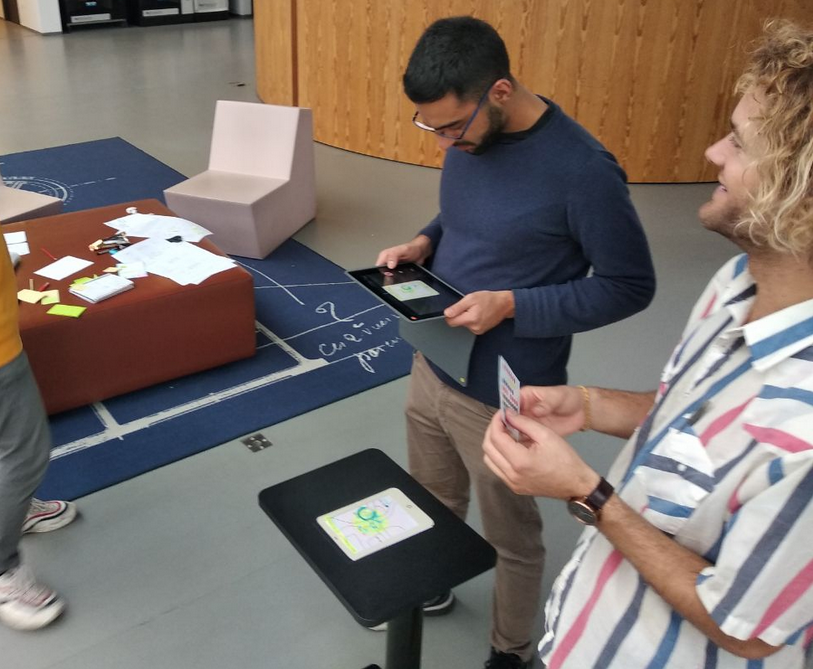
Rest of the day we spent shooting the video prototype.
Day 3
Objectives of the day: Evaluate the prototype, identify breakdowns and improvements
Having a video prototype again really helps to get proper feedback and reactions of potential users. We showed people the video and identified interaction points in our design that needed improvement.
The first trial never is perfect!
Day 4
Objectives of the day: Create another video prototype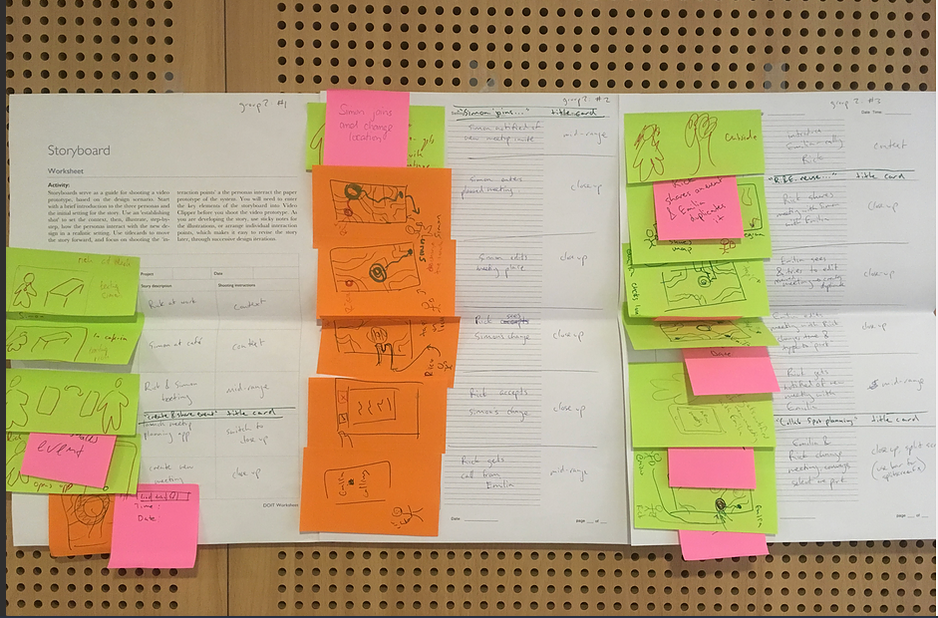
Final day, time to roll up our sleves and give our best.
Create another storyboard and we are ready to shoot.
Design Walkthrough
Following the final prototype we went with screen by screen with short explanations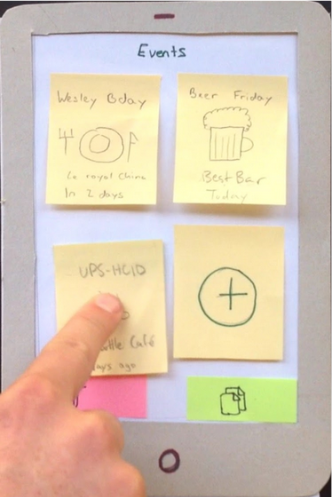
Landing Screen: Event screen
By clicking on + a new event can be created.
Long press an event to drag and droping it on either duplicate or delete.
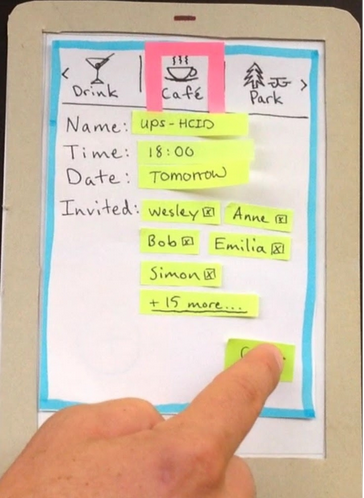
Event details
Can be seen either through reediting an event or by creating a new one.
Contains name, time, date and people that are invited. Above a category can be chosen.
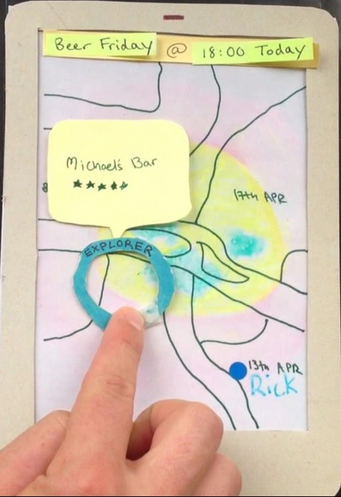
User exploration
The blue ring is the explorer with which the user can explore the area and discover places. It acts like a focal point.
Heat map indicates which areas are more suitable for the users in terms of reachability and preferences (Green-Yellow-Red).
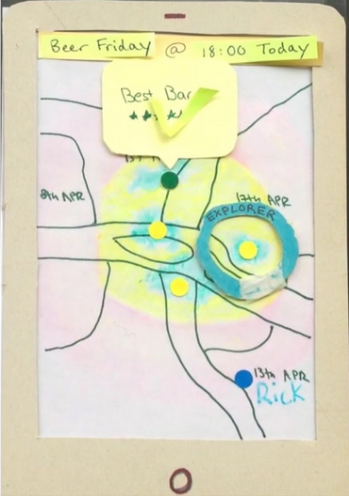
User choices
Multiple options can be marked by different users. When they exist (from different users) a user can choose one by doing a “check mark” gesture. The selected point turns green.
The green points go into a poll which shows to the user what the preferred place of the group would be.
Top preferencs
User can see the top choices in terms of votes by all the attendee by clicking on the top bar event.